
WHAT YOU NEED TO KNOW ABOUT A LOFT BUILD
If you've come on over after reading my last post about planning your loft build, then welcome! It's tempting to think you've done all the hard work. But if my experience is anything to go by, you still need to keep your eye very much on the ball when the building begins. Here are three key things to be ready for:
#1 EXPECT TO USE YOUR LOFT BUILD CONTINGENCY BUDGET
I'm starting with one of the more painful lessons. It's the one you've all heard before: expect to use (or even obliterate) your contingency budget. And if you don't think a contingency budget is necessary, you probably want to think again.
I fooled myself for a very short while that I might have that pot of money left over at the end for 'the new things'. Oh dear. Our contingency fund took about a £5K hit within the first few days. We didn't even make it through one week!
The builders discovered that the outside wall of our house had moved so much over its 100 or so years that they needed to take down a big section and re-build it. Either that, or our loft wall would 'snake'. I don't know if that's a technical term but I got the picture!
#2 THE TEMPTATION OF UPGRADES
There's also a very good chance that you'll be tempted, and will sometimes succumb, to upgrading here and there and spending more than you planned.
But it is sometimes a good idea, and it’s worth putting in the time to weight it up.
In our case, we upgraded with the built-in cabinet in our en-suite that our builders made for us, rather than sticking with the small free-standing vanity we were originally planning.
I'm happy that we spent the extra money. It looks a lot smarter and gives us much-needed extra storage - one of the top five things in a stylish home!
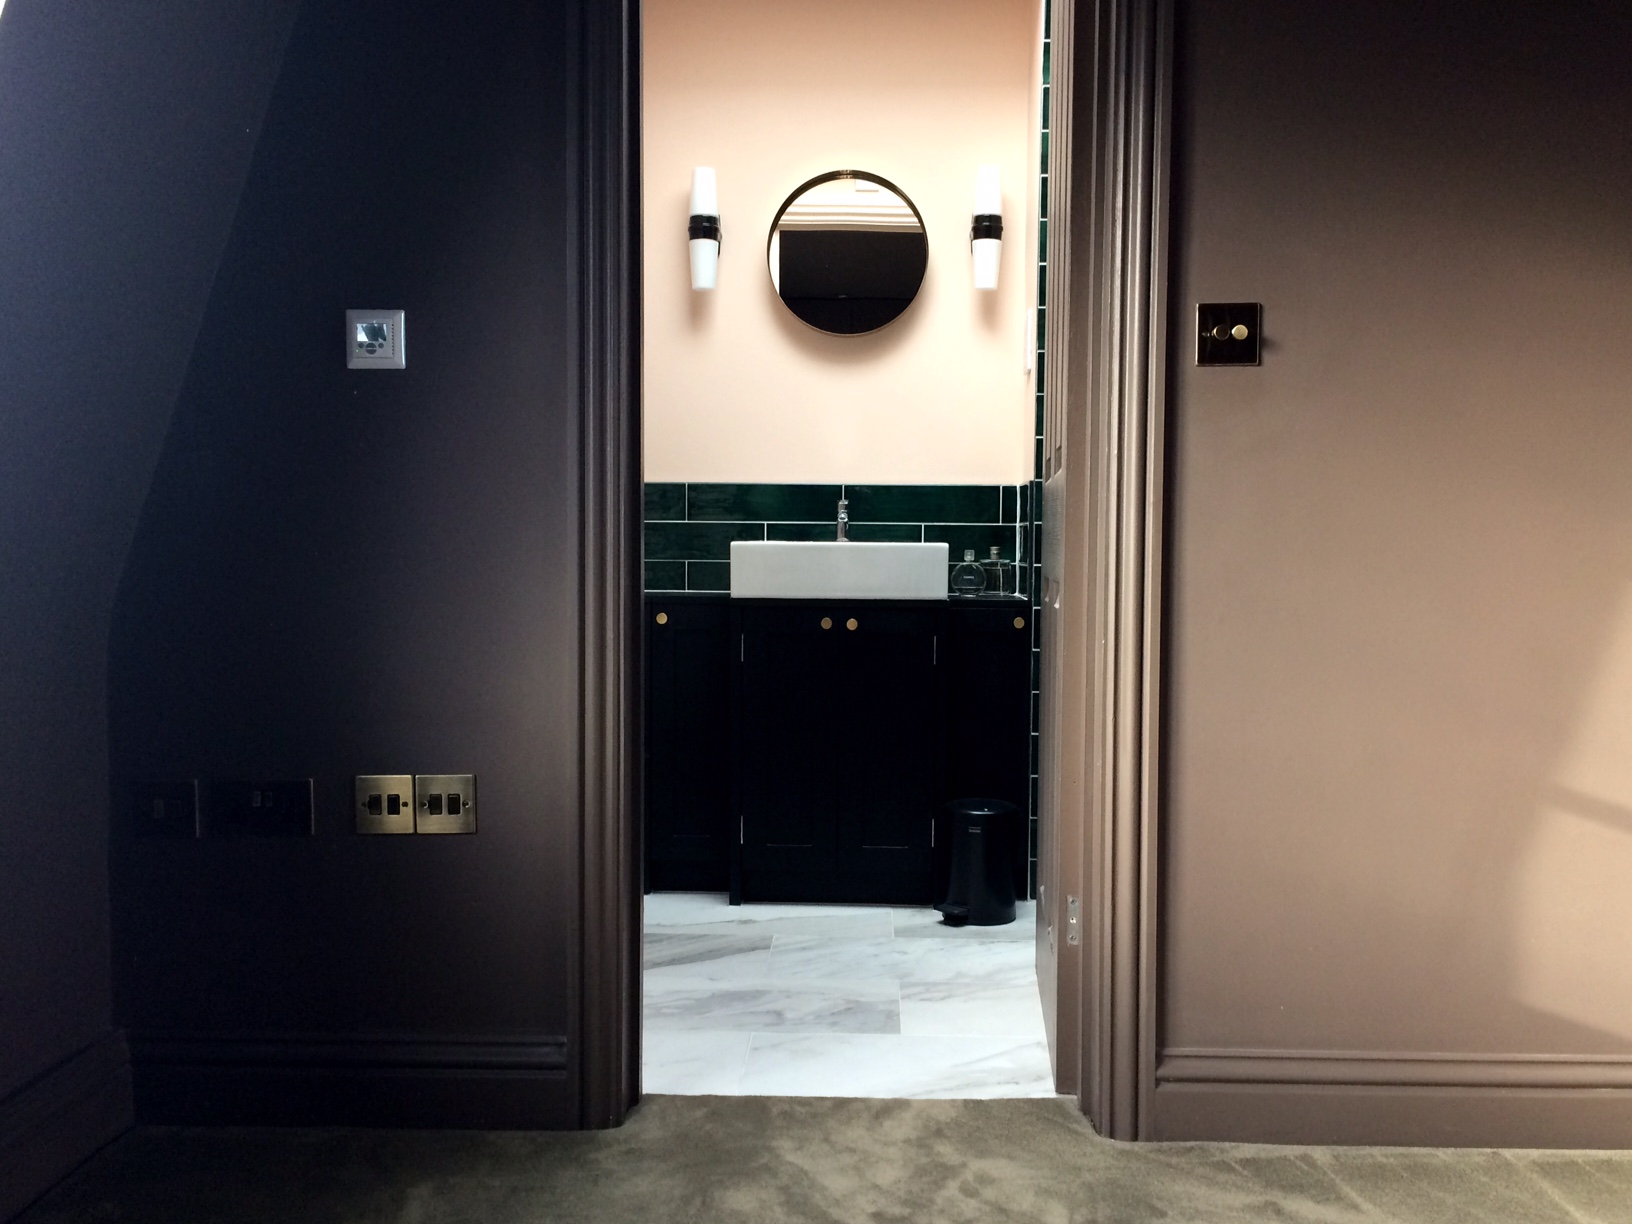
We succumbed to the built-in cabinet
#3 YOU MIGHT NEED TO CHANGE YOUR DESIGNS
Another lesson is to expect surprises and be prepared for the possibility that your design on paper won't be possible to deliver as the build unfolds.
This was true for us and I really wasn’t expecting it. It was pretty stressful but ended well.
Our design included a run of wardrobes alongside one wall, giving us lots of storage so at last we'd be saying goodbye to the summer/winter wardrobe switch-around. But it was not to be.
It turned out we needed a big upright steel for support and it was right in the middle of one of those wardrobes. So, we needed a change of plan.
To add to that, our designs also hadn't accounted for a chimney stack that needed to stay, so the whole section of wardrobes in front of that would be very shallow - not really wardrobes at all.

We loved our chimney stack and massive steel!
As frustrating as it was to have to change our plans - and stressful because the pressure is also on to do it quickly - the end result does work really well, maybe even better.
The shelves we now have in front of the chimney stack break up what could have been quite a dull run of wardrobes. I also got a shoe cupboard - yes! The space in front of the steel is very shallow for a wardrobe, but perfect for housing shoes.
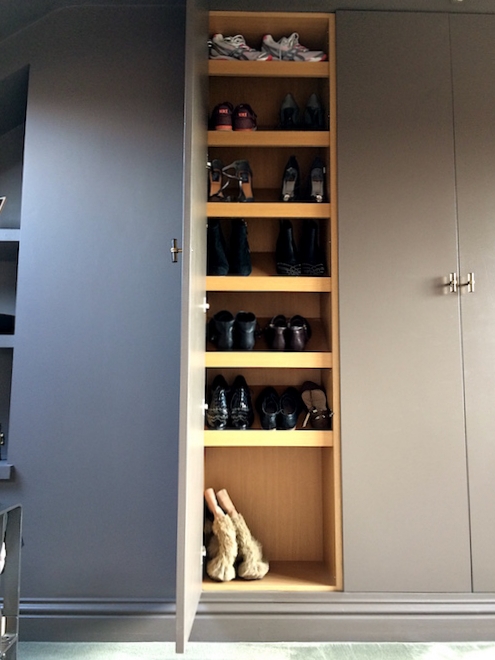
Our plan B was a shoe cupboard - yay!
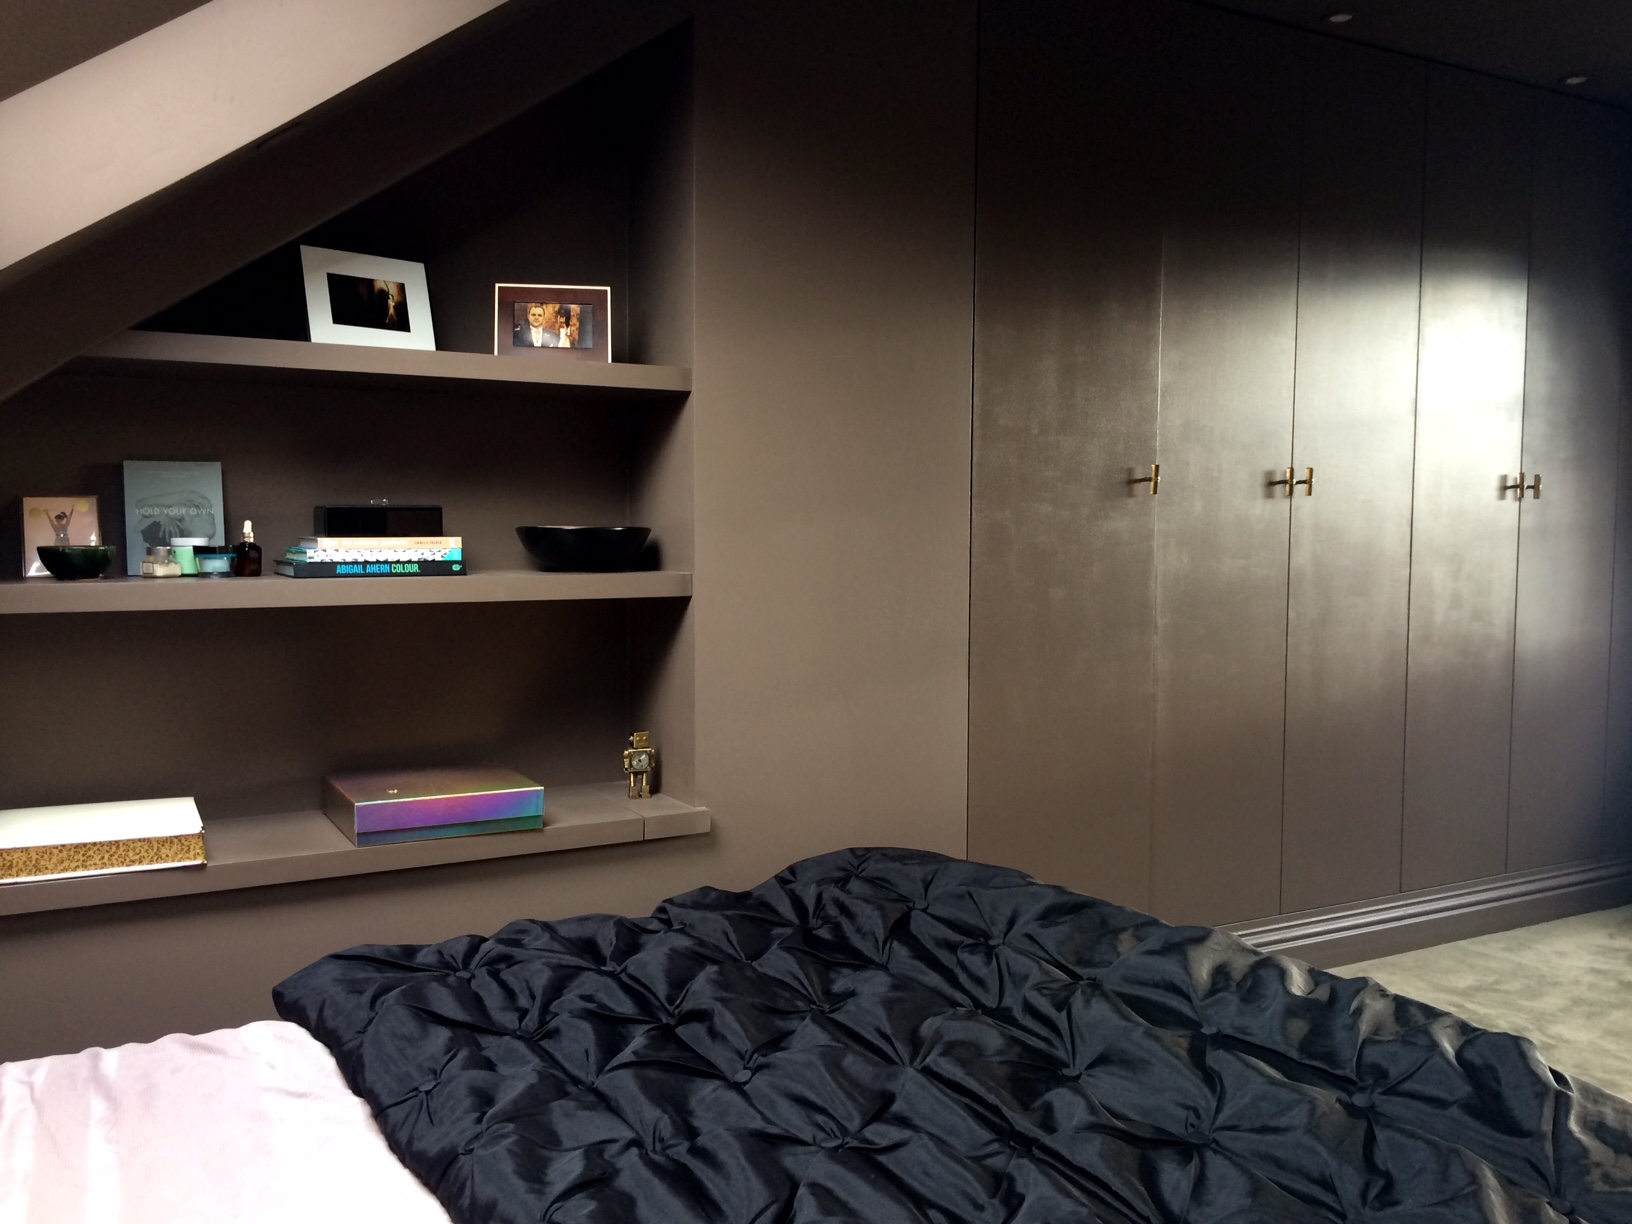
Plan B shelves with secret storage underneath
I hope these tips help with your loft build. But don’t go just yet!
If you’re at the planning stage for your loft, then take a look at my top tips for that.
If you’re struggling to pick out your colour scheme, I’ve got some easy techniques to get you started.
And if your finances are taking a battering with all this renovation work, check out my tricks for decorating on a budget.
Victoria
x


